


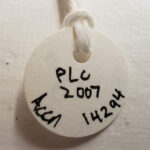

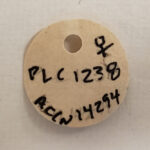

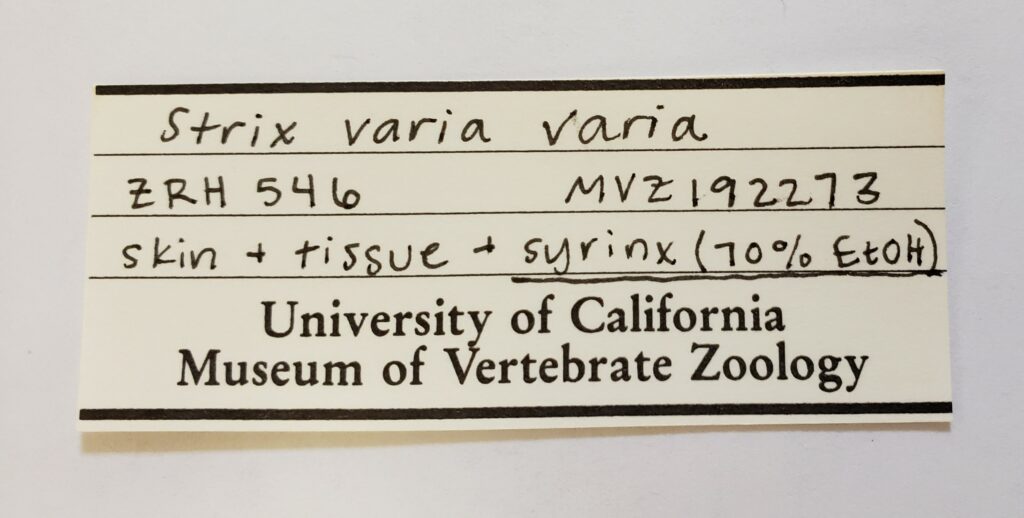
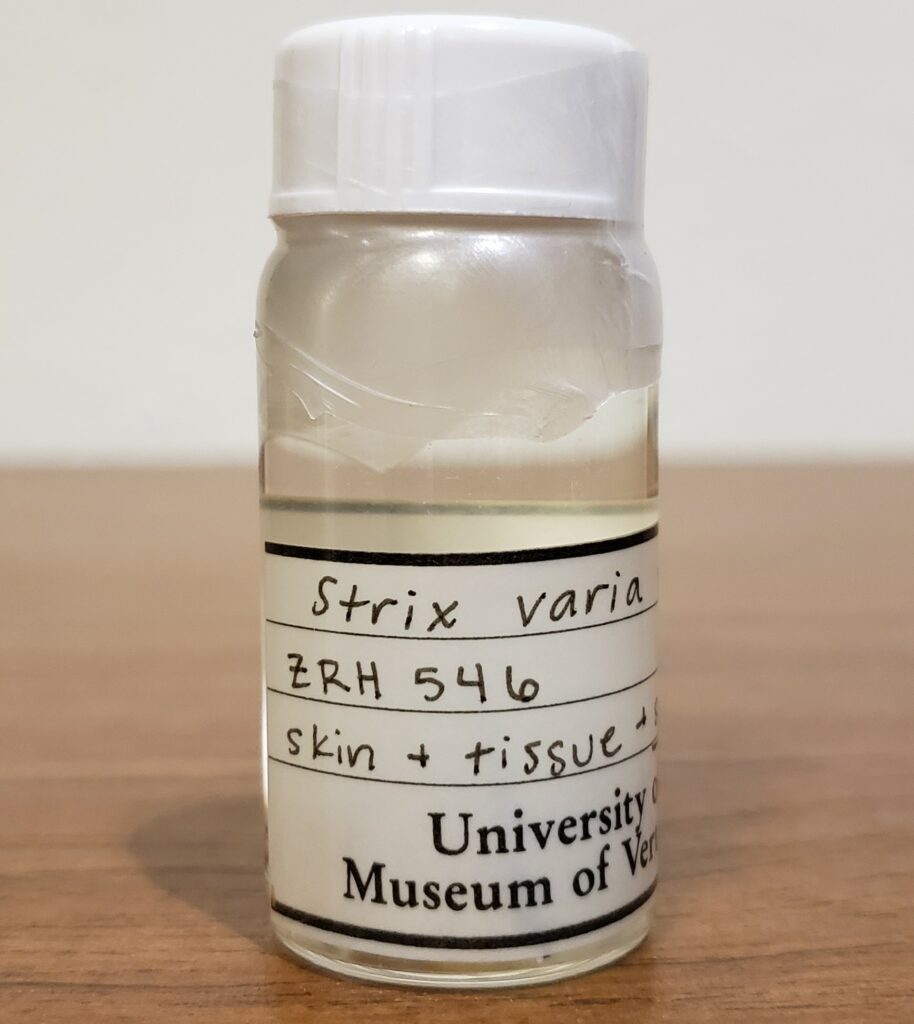
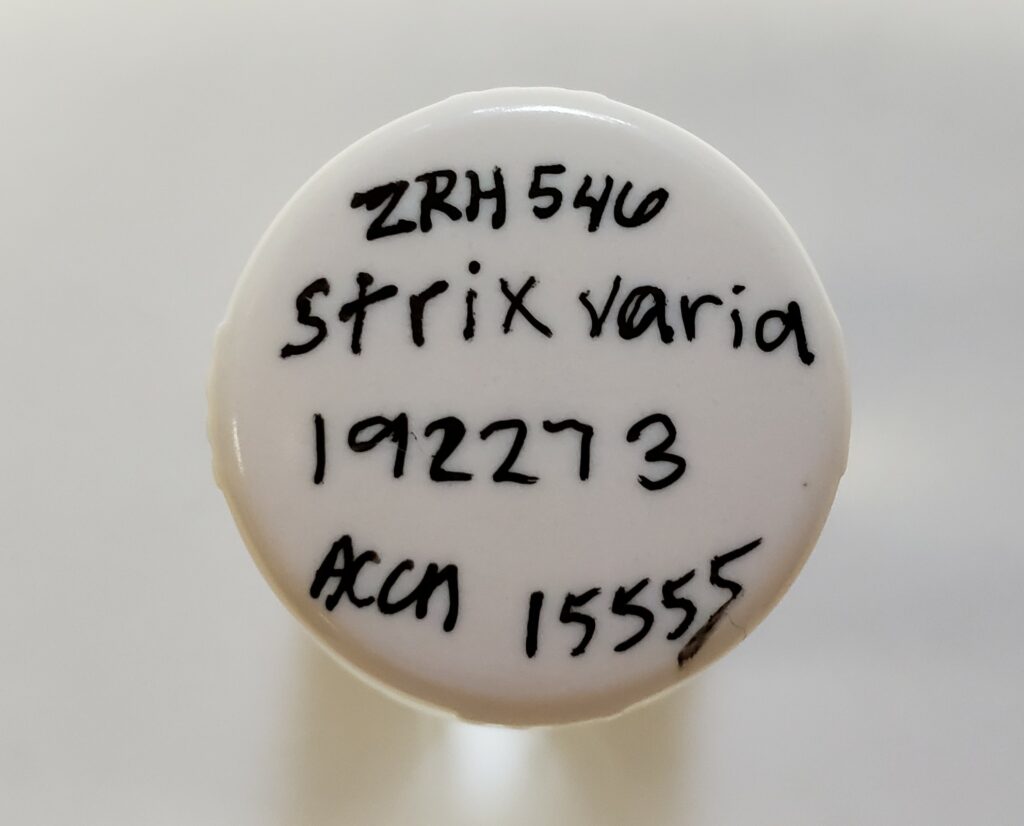
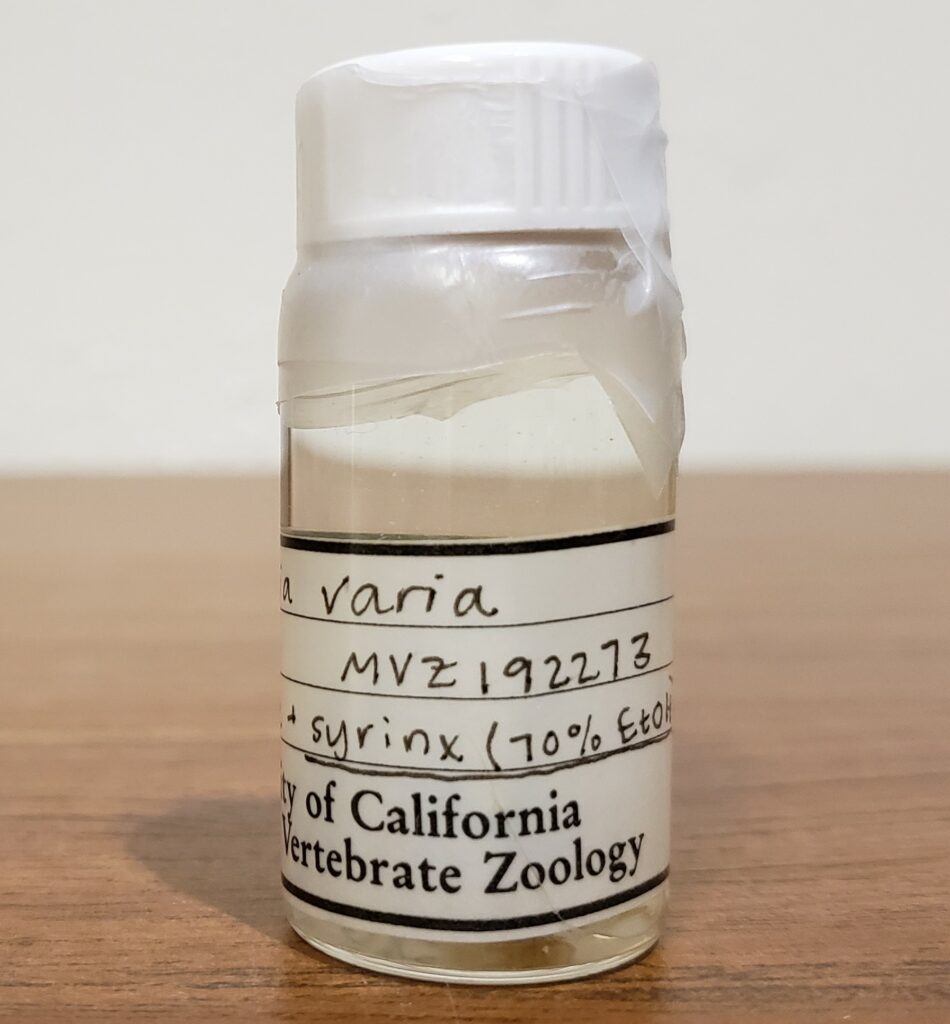
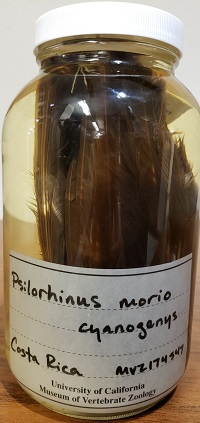
Skeletons, eggs, and nests are housed in custom-made archival boxes that use database-generated labels. The MVZ bird collection uses two label sizes: narrow and wide. There are different types of labels depending on the nature of material (e.g., skeleton versus egg/nest) and size of the box. Two labels are printed for every skeleton and nest box – one goes inside the box, and the other adheres to the outside of the box. Egg boxes just need one label that goes inside the box (facing up so that it is visible through the box).
Labels are printed from Arctos as follows:
-
Login to Arctos and search for the specimens that need box labels. This is done on the main Arctos Catalog Record search page. You can either search by the accession number or by the catalog numbers. Select MVZ Bird Specimens as the collection. If you are searching by a range of numbers, enter the first and last number separated by a hyphen. If you are searching by a set of discontinuous numbers, enter each number separated by a comma.
-
After you get the result set, go to the “Tools” dropdown and select “Arctos Reporter”
-
In the long list of reports (these are for all of the Arctos collections), select “MVZ:Bird” in the used_by_collections dropdown and click on “apply filters.” This will simplify the options to just two types of labels:

-
Select the type of label that you want to print.
- Skeletons take either “MVZ Bird Narrow box label” or “MVZ Bird Wide box label.” Use the narrow label only for the outside of small (#1) skeleton boxes. All other boxes, and all inside labels, are of the wide dimensions.
- Eggs and nests take “MVZ_Wide_Labels_Egg.”
-
Click on “Open” for the label type you want. This will generate a PDF of the labels. Check the PDF to make sure that the labels look ok – e.g., that the data (names, locality, parts, etc.) aren’t getting cut off or running off the label. Such issues are easily fixed by downloading the label report and editing it in Adobe Acrobat Professional. Long collector/preparator names can be abbreviated by using initials instead of spelling out the first name. Likewise, localities can be abbreviated in explicit ways, e.g., by changing “County” to “Co.”, or state such as “California” to “Calif.”
-
Print the labels on the Xerox printer connected to the curatorial computer near the window. Labels for the inside of boxes get printed on archival high quality paper. Labels for the outside of boxes get printed on paper that has an adhesive back. Both types of paper supplies are in the curatorial area.
-
Print as many labels as possible on a sheet of paper; try not to waste paper. Labels for multiple accessions can be printed on the same paper.
-
Use the paper cutter and/or scissors to neatly cut the labels along the outside lines so that each label is separate.
-
Place the archival wide label inside the box, and adhere the sticky label on the outside of the box. The orientation of the label on the outside of the box is important. For #1 skeleton boxes, place the sticky label on the box at its narrow end. For other skeleton and nest boxes, first look in the collection to see how the box is oriented in the tray where it will be installed (see section on installing birds). The label should be placed on the box (in the middle from side-to-side, at one edge) so that it is facing the front of the tray.
 | Standard Case Exterior Label • Fits standard size steel cases • Requires trimming to fit zinc cases • Four labels per page |
 | Drawer Label • Fits standard size steel and wood drawers • Fits steel egg case drawers • 12 labels per page |
 | Magnetic Aisle Label • Fits 5″ x 7″ magnetic picture holders • All pre-designed aisle labels are included in this document |
 | Egg Case Exterior Label • Fits large steel egg cases • One label per page |
 | Ethanol Room Rolling Steel Box Label • Fits rolling steel ethanol boxes • Three labels per page |
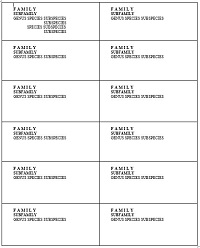
 | Ethanol Room Family Label • Fits large magnetic shelf labels • 10 labels per page |
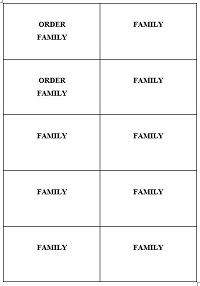
 | Ethanol Room Genus Label • Fits small magnetic shelf labels • 27 labels per page |