Tissue Manual | Creating Barcoded Box Positions
Creating Barcoded Box Positions in Arctos
Barcodes in Arctos are organized in a hierarchical system. Each tissue vial gets a barcode that goes into a position in a barcoded box. Once the tissues are ready to install into a LN2 freezer, the barcoded box gets scanned into a barcoded slot in a barcoded rack in a particular freezer. More details on installing tissues is provided below.
Cataloged and uncataloged MVZ tissues go into barcoded polycarbonate boxes with a 9 x 9 grid. Official box barcodes have the format “MVZ1234” where the four-digit barcode number follows the institution acronym. Box barcodes are already entered into Arctos, but positions must be created for the box before tissues can be scanned into position in the box. The same procedure for MVZ barcoded boxes applies to temporary barcodes that might be created for uncataloged tissues (see below). Follow these steps to create barcoded box positions:
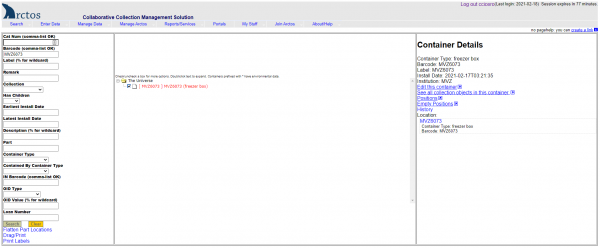
- Search for the box barcode in Arctos by entering or scanning the barcode into the “Barcode” field in Find Container “(Manage Data —> Object Tracking —> Find Container ).
- Click on the little box to the left of the barcode to get details for that container.
- Click on “Edit this Container” on the right side of the screen.
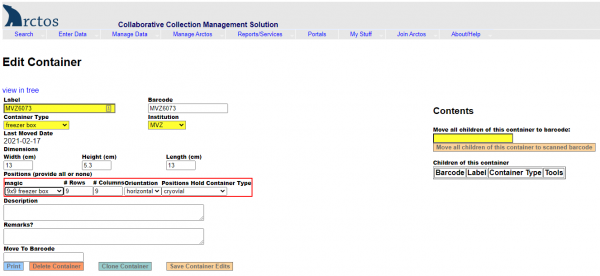
- Under Dimensions, enter width=13, height=5.3, length=13.
- Under Positions, select “Magic” —> 9 x 9 freezer box.
- Hit “Save Container Edits.”
- Exit out of that window, and search on the barcode again in Find Container.
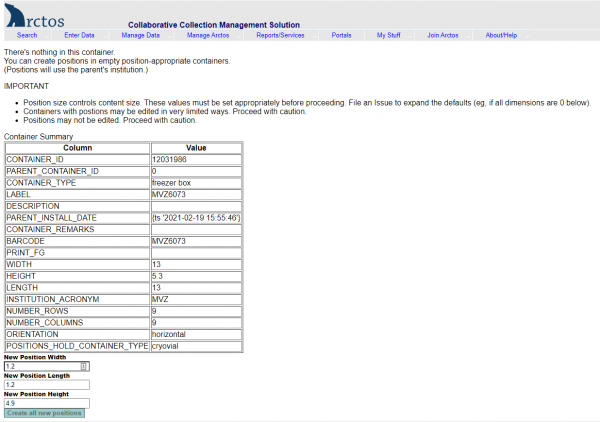
- Click on “Positions” on the right side of the screen.
- Click “Create all new positions” at the bottom of the screen.
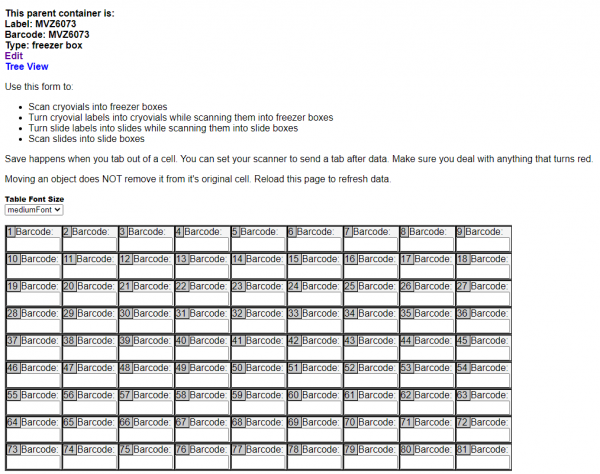
- You will now have a box with empty positions that you can use to start scanning barcoded tissue vials.


